
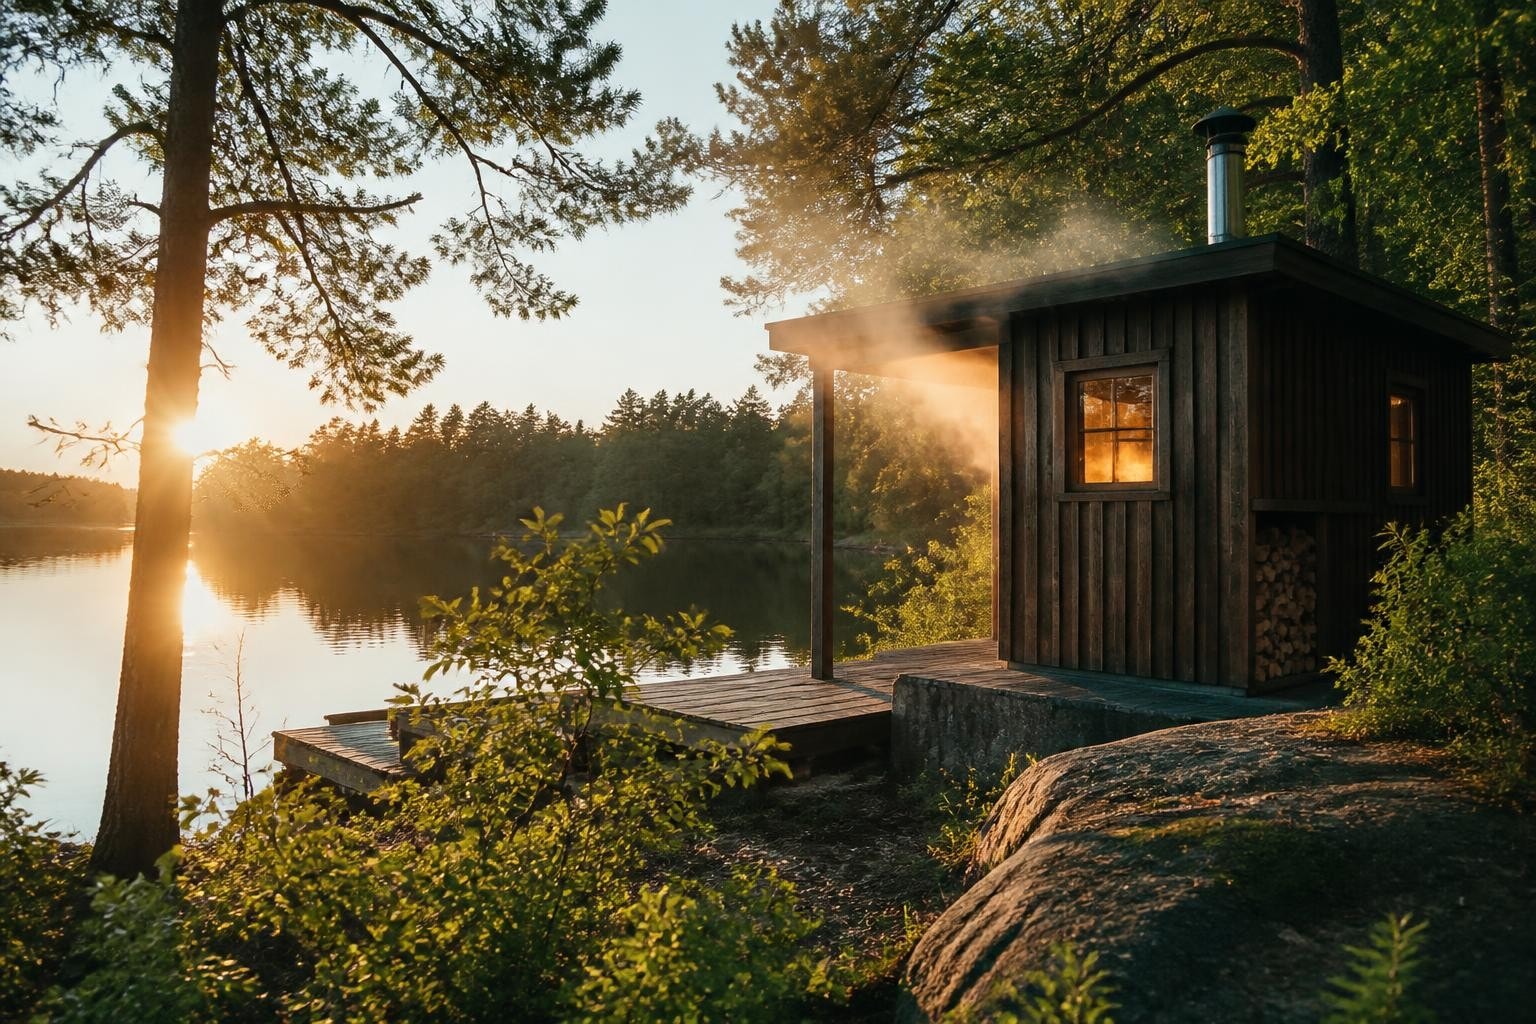
A wood burning sauna creates heat through direct combustion in a wood-fired stove, heating sauna stones that reach 400 to 500 degrees Fahrenheit. Water thrown on these stones creates löyly, the steam that defines traditional sauna. The stove requires continuous tending, produces variable heat, and connects you to the physical process of making warmth. Most models install outdoors due to chimney requirements and smoke. A 6x8 foot sauna typically needs 45 to 90 minutes to reach bathing temperature, depending on outside air and wood quality.
How Wood Burning Sauna Heat Works
The wood-fired stove sits inside or immediately adjacent to the sauna room. Hardwood burns in the firebox, heating a mass of igneous stones stacked above or around the combustion chamber.
These stones store thermal energy. Their mass determines how long heat lasts and how much steam one water ladle produces.
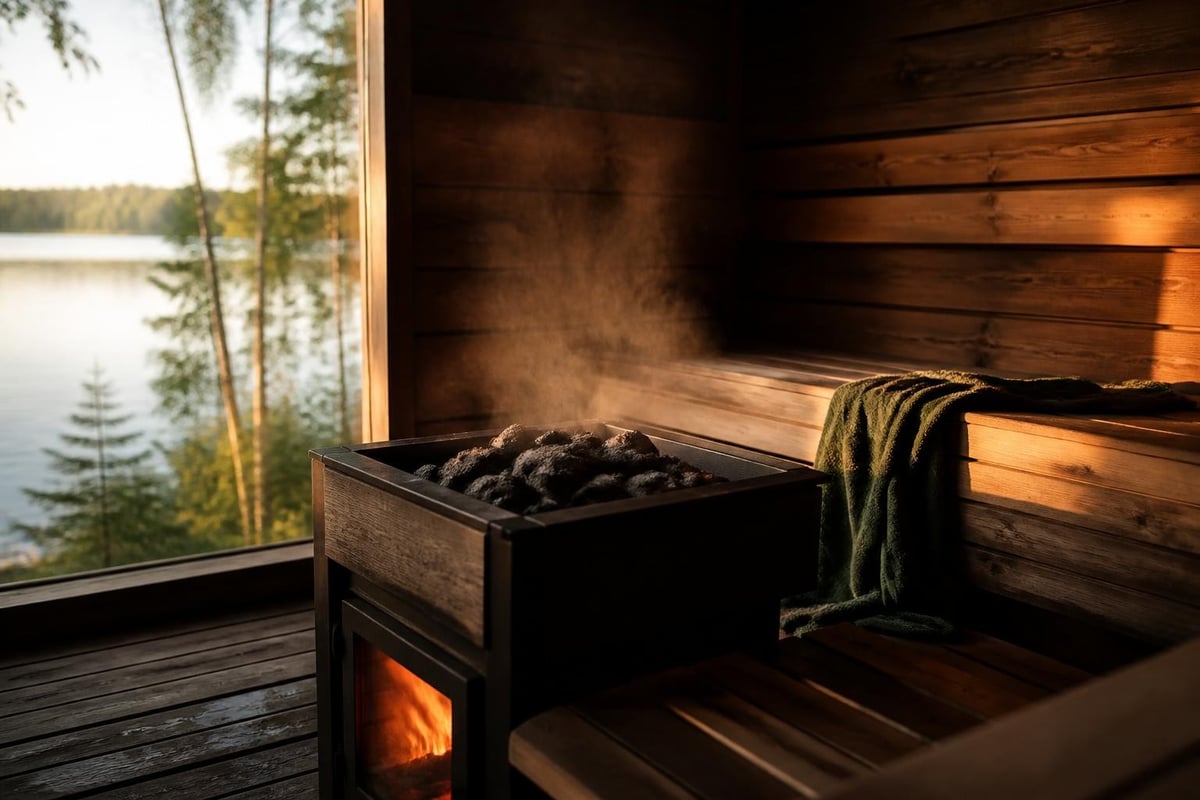
The heat delivery differs from electric:
- Temperature varies as wood burns down
- Humidity comes only from water you throw
- Flame consumes oxygen, changes room air
- Radiant heat from stove metal adds warmth
- Chimney draft pulls air through the room
A properly sized stove for a 60 cubic foot space holds 60 to 100 pounds of stones. Smaller stone mass means faster heating but shorter sessions. Larger mass extends heat but adds 30 to 45 minutes to warm-up.
Stove Placement and Chimney Routing
The stove can mount inside the sauna or outside with the stone chamber extending through the wall. Internal placement gives faster heat but requires more floor space and careful bench design to prevent burns.
External mounting keeps the firebox outside. You load wood from a shed or porch. The stone-filled chamber projects into the sauna room. This arrangement saves interior space and reduces smoke risk if the door seal fails.
Chimney routing follows local building codes. Most jurisdictions require double-wall insulated pipe, clearance from combustible materials, and a spark arrestor cap. The chimney must extend above the roofline by a specified distance, typically 3 feet above the highest point within 10 feet horizontally. Building a wood-fired sauna involves understanding these clearances before construction.
Wood Burning vs Electric Sauna
| Feature | Wood Burning | Electric |
|---|---|---|
| Heat-up time | 45-90 min | 30-40 min |
| Tending | Continuous | None |
| Installation | Complex, outdoor | Simple, indoor/outdoor |
| Ongoing cost | Firewood | Electricity |
| Heat character | Variable, radiant | Steady, convective |
Wood requires splitting, stacking, and feeding. Electric requires a 240V circuit and nothing more. The difference between wood-burning and electric saunas shapes daily use more than initial cost.
A wood burning sauna makes you participate. You split wood in October. You carry it to the shed. You build the fire, adjust airflow, add logs. Some find this meditative. Others find it burdensome after a long day.
Operating Cost Comparison
A two-hour session burns 15 to 25 pounds of hardwood. At typical firewood prices in the northern US, that costs $2 to $4 per session. An electric sauna running the same duration on a 6 kW heater uses 12 kWh, costing $1.50 to $3 depending on your utility rate.
Firewood cost varies by region and whether you cut your own. Electric cost depends on your rate tier and time of use.
Neither option clearly wins on cost. Wood may cost more per session but eliminates the 240V circuit installation expense. Electric costs more to install but less per session in most markets.
Choosing a Wood Burning Sauna
The stove, wood species, and construction quality matter more than brand name.
Stove capacity must match room volume. A 60 cubic foot room needs a stove rated for 50 to 80 cubic feet. Undersized stoves never reach temperature. Oversized stoves overheat the space before stones fully warm.
Stone capacity determines session quality. Look for 80 to 120 pounds minimum for a family-sized sauna. Igneous rock only. Never sedimentary or purchased landscaping stone. The stones will crack and potentially explode from thermal shock.
Wood species affects durability and aroma. Cedar and redwood resist moisture but cost more. Spruce and pine are economical but require more maintenance. Hemlock offers a middle option. All softwoods work if properly kiln-dried and maintained.
Wall Thickness and Insulation
Solid wood walls should measure at least 1.5 inches thick. Thinner walls lose heat too quickly in winter. Thicker walls retain heat longer but add significant weight and cost.
Some manufacturers use insulated panel construction: an inner and outer wood layer with fiberglass or mineral wool between them. This approach reduces wood usage and improves winter performance but changes the interior character.
Wall joints matter as much as thickness. Tongue-and-groove or lap joints seal better than butt joints. Check that corner connections interlock. Gaps allow heat loss and moisture intrusion.
Foundation and Drainage Requirements
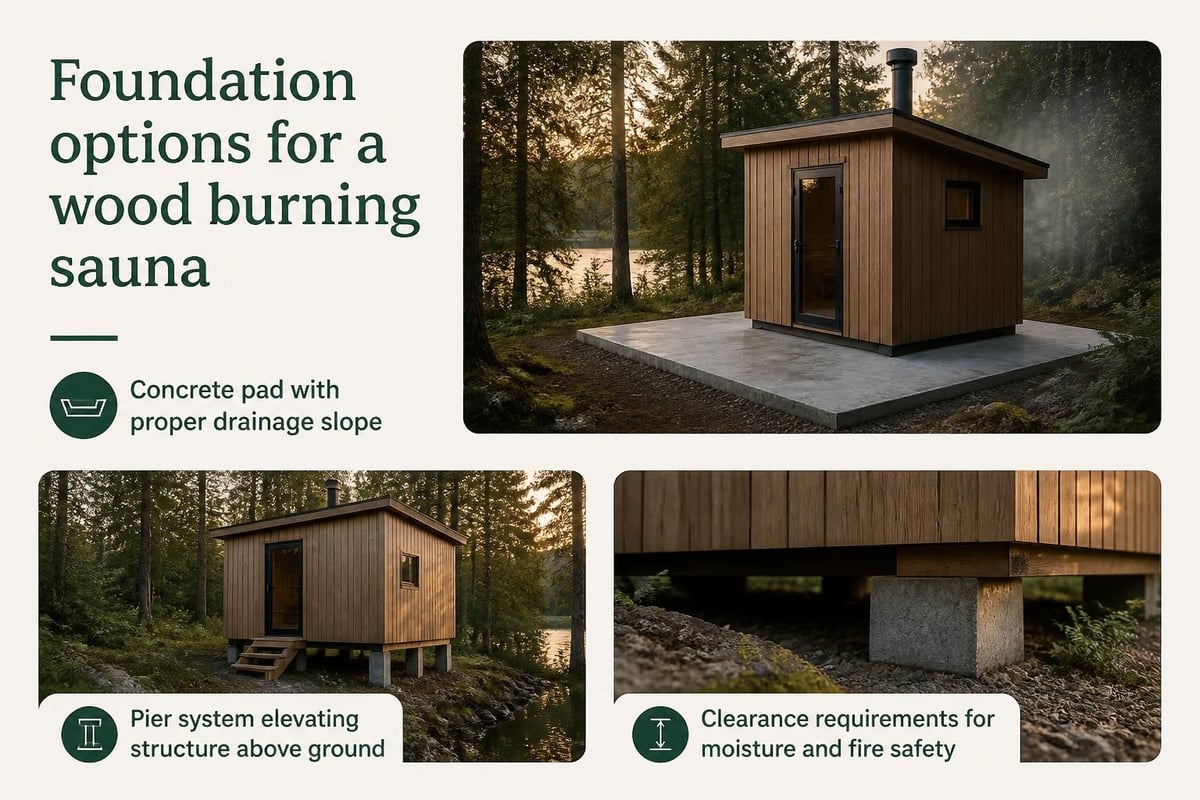
A wood burning sauna needs either a concrete pad or a pier foundation. The structure must sit level and elevated above ground contact. Most building codes require 6 to 8 inches of clearance between wood and soil.
Drainage matters because you will throw water. A sloped floor with a central drain is ideal but not common in prefab models. Most have flat floors. This means mopping after each session and ensuring door thresholds shed water away from the building.
Installation Process and Timeline
A prefab wood burning sauna arrives as a kit. Panels, roof sections, door, windows, and hardware ship on a pallet. The stove and chimney usually ship separately.
Assembly follows this sequence:
- Prepare foundation (1-2 days if pouring concrete)
- Assemble floor frame and floor boards (4-6 hours)
- Erect wall panels and secure corners (4-6 hours)
- Install roof beams and roof panels (3-4 hours)
- Mount door, windows, and trim (2-3 hours)
- Install stove and chimney (4-6 hours)
- Build interior benches (3-5 hours)
- Apply exterior stain or sealant (4-6 hours)
Most homeowners complete assembly over two weekends with one helper. Professional installation takes two to three days.
The stove installation requires care. Clearances from walls, proper chimney flashing, and secure stone stacking all affect safety. Many jurisdictions require inspection before first use.
Breaking In the Stove
The first three fires should be small and cool. This cures the stove paint and allows the stones to settle. Run each fire for 30 minutes, letting the stove cool completely between burns.
After three break-in fires, build a normal fire. Heat the room to 160°F and hold it there for an hour. This dries residual moisture from the wood and reveals any construction issues.
Check all joints, the chimney connection, and around windows for smoke leaks during this first full session. Small gaps are normal and seal themselves as wood swells from humidity. Visible smoke streams indicate a problem requiring correction.
Maintenance Requirements
A wood burning sauna needs more attention than an electric model. Best practices for maintaining your wood-burning sauna focus on the stove, chimney, and wood structure.
Monthly tasks:
- Remove ash from firebox
- Check door gasket condition
- Inspect chimney cap for creosote
- Wash benches and floor
- Check exterior wood for splitting
Annual tasks:
- Sweep chimney or hire a sweep
- Replace door gasket if brittle
- Reseal exterior wood if needed
- Inspect roof for leaks
- Check stone condition, replace cracked stones
Creosote builds up faster if you burn soft or wet wood. A monthly inspection catches problems before they become hazards. Most chimney fires start from neglected creosote accumulation.
Wood Selection and Storage
Hardwood burns hotter and longer than softwood. Oak, maple, ash, and birch are ideal. Each produces different heat characteristics and aroma. Birch bark adds a pleasant scent. Oak gives sustained heat.
The wood must be seasoned. Freshly cut wood contains 40 to 50 percent moisture. It smokes heavily, produces creosote, and delivers little heat. Properly seasoned wood measures below 20 percent moisture and splits with sharp cracks.
Season wood for at least six months, preferably a full year. Stack it off the ground with good airflow. Cover the top but leave sides open. Wood stored in an enclosed shed takes longer to dry.
Wood Burning Sauna for Backyard Use
Outdoor placement is nearly universal for wood-fired models. The chimney, smoke, and combustion air requirements make indoor installation impractical for most homes.
A backyard wood burning sauna becomes a separate structure, a destination. You walk outside, start the fire, and return an hour later. This separation can be an advantage. The sauna becomes a ritual space, not another room.
Placement considerations:
- Minimum 10 feet from house and property lines
- Access to firewood storage
- Level ground or ability to create a level pad
- Visibility from house for safety monitoring
- Protection from prevailing wind
Wind affects draft and heat loss. A location with natural windbreak from trees or fencing helps. But avoid placing the sauna directly under trees. Falling branches and leaf debris complicate maintenance.
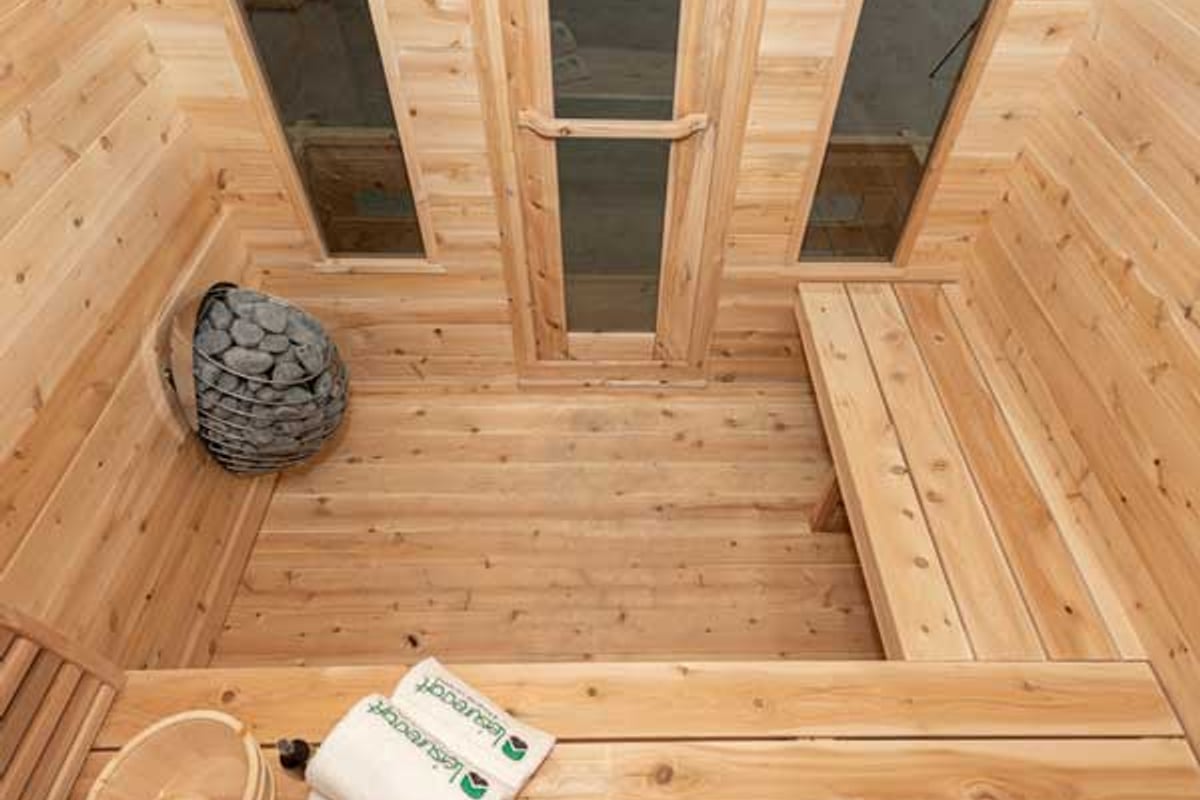
The LeisureCraft Georgian Cabin Sauna with Porch combines traditional wood-fired heat with a covered entry space for gear and relaxation between rounds. Its Eastern White Cedar construction and wide benches suit the longer sessions that wood-burning encourages, and the front porch provides a natural place to tend the fire and cool down between löyly sessions.
Integrating Cold Plunge
The Finnish tradition pairs sauna heat with cold water immersion. A wood burning sauna's outdoor location makes adding a cold plunge straightforward. Place a plunge tub or build a small pool within 10 to 20 feet of the sauna door.
The contrast between wood-fired heat and cold water mirrors the practice from Lake Saimaa, where we moved between sauna and lake multiple times each session. The walk between hot and cold extends the transition, allowing body temperature to adjust gradually.
Outdoor saunas designed for contrast therapy often include space for a plunge tub or accommodate later addition. Plan this during site layout, not as an afterthought.
When Wood Burning Makes Sense
A wood burning sauna fits specific situations. It works best when you have:
- Reliable access to seasoned firewood
- Time for the longer heat-up process
- Interest in active fire tending
- Outdoor space meeting clearance requirements
- Local permitting that allows wood combustion
If you heat your home with wood, adding a wood-fired sauna aligns with existing skills and fuel supply. If you have never maintained a wood stove, the learning curve is real.
Some users alternate between electric and wood-burning. They use electric for quick weeknight sessions and wood for weekend rituals. This requires two saunas or a hybrid model that accepts both heater types.
Health and Air Quality Considerations
Wood smoke contains particulate matter. Research on biomass smoke exposure shows associations with respiratory effects, particularly in enclosed spaces with poor ventilation.
A properly functioning sauna stove exhausts smoke through the chimney. Inside air remains clean during use. Problems occur when door seals fail, the firebox develops cracks, or users open the stove door while bathing.
Some studies, including research on indoor wood-burning stove use, examine long-term exposure risks. These studies focus on daily residential heating, not occasional recreational use. The exposure profile differs significantly.
Systematic reviews of sauna bathing examine thermal exposure, not smoke exposure. If your stove vents properly, the health considerations relate to heat and humidity, not combustion products.
My Experience with Wood-Fired Sauna
I grew up with a wood-burning sauna on Lake Saimaa. My grandfather built it from local pine in the 1950s. Every Saturday we heated it, three hours before bathing because the stove was small and stones were few. That wait became part of the day. We split wood, carried water, and prepared while the sauna warmed. The rhythm taught patience. When the stones finally glowed, the heat felt earned, not delivered.
Common Questions About Wood Burning Sauna
How long does it take to heat a wood burning sauna?
Expect 45 to 90 minutes depending on outdoor temperature, sauna size, and stove capacity. A well-insulated 6x8 foot sauna with an appropriately sized stove reaches 170°F in about an hour during moderate weather.
Can I install a wood burning sauna indoors?
Technically possible but rarely practical. You need chimney routing through the roof, adequate combustion air supply, and clearances from walls and ceilings that exceed most residential spaces. Local codes often prohibit indoor wood combustion in new construction.
What type of wood should I burn?
Seasoned hardwood burns cleanest and hottest. Oak, maple, ash, and birch work well. Avoid softwoods like pine except as kindling. Never burn treated lumber, painted wood, or construction scraps. These release toxic compounds.
How much does firewood cost per session?
A typical session uses 15 to 25 pounds of wood, costing $2 to $4 at current firewood prices. Cost varies significantly by region and whether you cut your own wood. In areas with abundant forest access, fuel cost approaches zero.
Do I need a permit for a wood burning sauna?
Most jurisdictions require permits for any structure over 120 square feet and for any wood-burning appliance installation. Requirements vary by county and municipality. Contact your local building department before ordering materials. Some areas prohibit new wood-burning installations due to air quality regulations.
A wood burning sauna returns you to direct heat, to tending fire and waiting for stones to glow. It demands time and attention, creates variable warmth, and connects each session to the physical work of combustion. If this rhythm suits your life and property, the experience differs from any electric model. Ask Petri about your sauna to discuss which heating approach fits your situation, your site, and the kind of sessions you want to create.
Share:
Steam Rooms Near Me: What to Know Before You Visit
The Hot Box Sauna: What It Is and How It Compares