
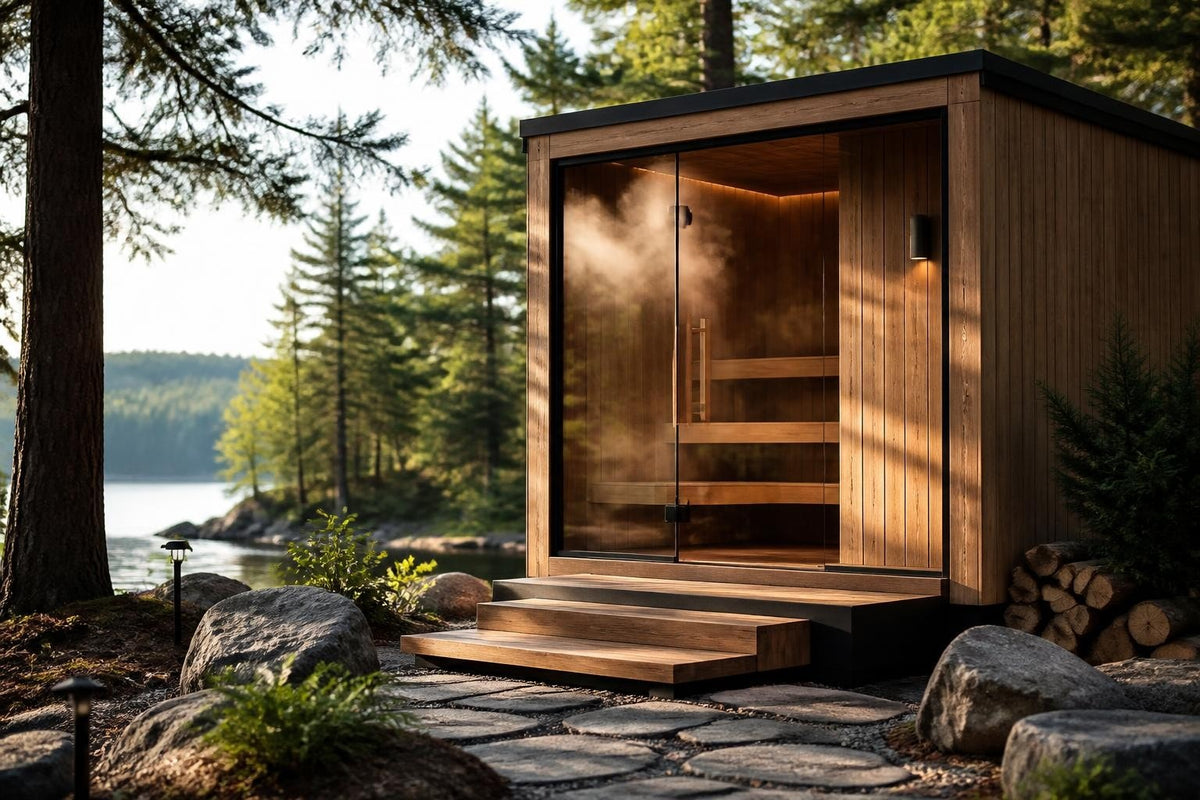
Building a diy outdoor sauna in your backyard is an appealing project. It promises authentic heat, a custom layout, and the satisfaction of creating something yourself. But before you order lumber and start digging footings, it's worth understanding what a diy outdoor sauna build really involves-the planning, the permits, the code requirements, and the trade-offs between scratch-built and prefabricated options. This article walks you through the practical realities so you can decide whether building from the ground up or choosing a quality kit better fits your timeline, skills, and budget.
Planning Your DIY Outdoor Sauna Build
A successful diy outdoor sauna starts long before you pick up a saw. You need to choose a site, determine size, pick materials, and decide on heating method-all while keeping local codes and climate in mind.
Site Selection and Foundation
Your sauna needs a level, stable foundation that drains well and keeps the structure off the ground. Most outdoor saunas sit on concrete piers, a poured slab, or a gravel pad with treated-wood skids.
- Concrete piers or footings: Elevate the floor frame, allow airflow, and satisfy most frost-depth requirements.
- Poured slab: Provides a level, permanent base but costs more and requires formwork and finish work.
- Gravel pad with skids: Lower-cost option for small saunas; ensure proper compaction and drainage.
Check local frost depth and setback rules. Many jurisdictions require structures to sit a certain distance from property lines and wells. This comprehensive DIY sauna guide covers siting, drainage, and common site-prep mistakes.
Size, Capacity, and Layout
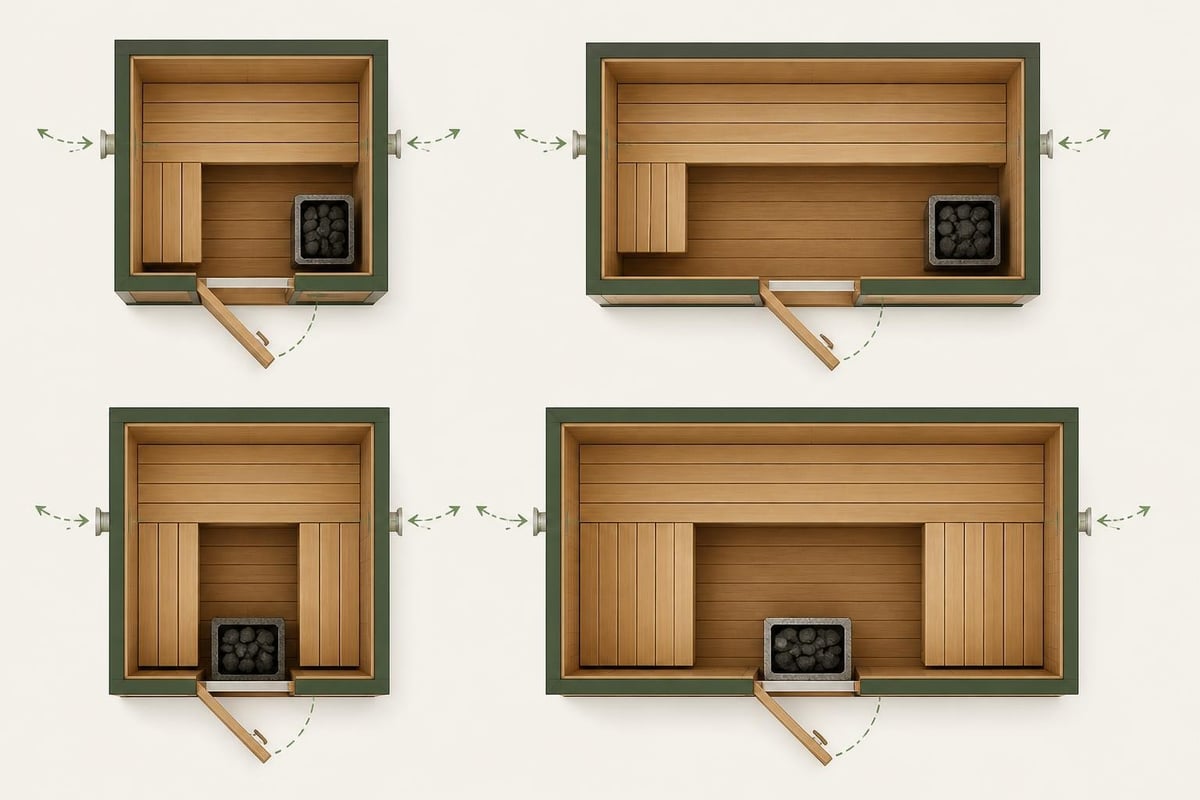
A two-person sauna needs roughly 4–5 m² of interior space; a four- to six-person sauna typically runs 6–7 m². Bench layout matters as much as floor area. Straight benches work well in compact spaces; L-shaped benches maximize seating in square or rectangular rooms.
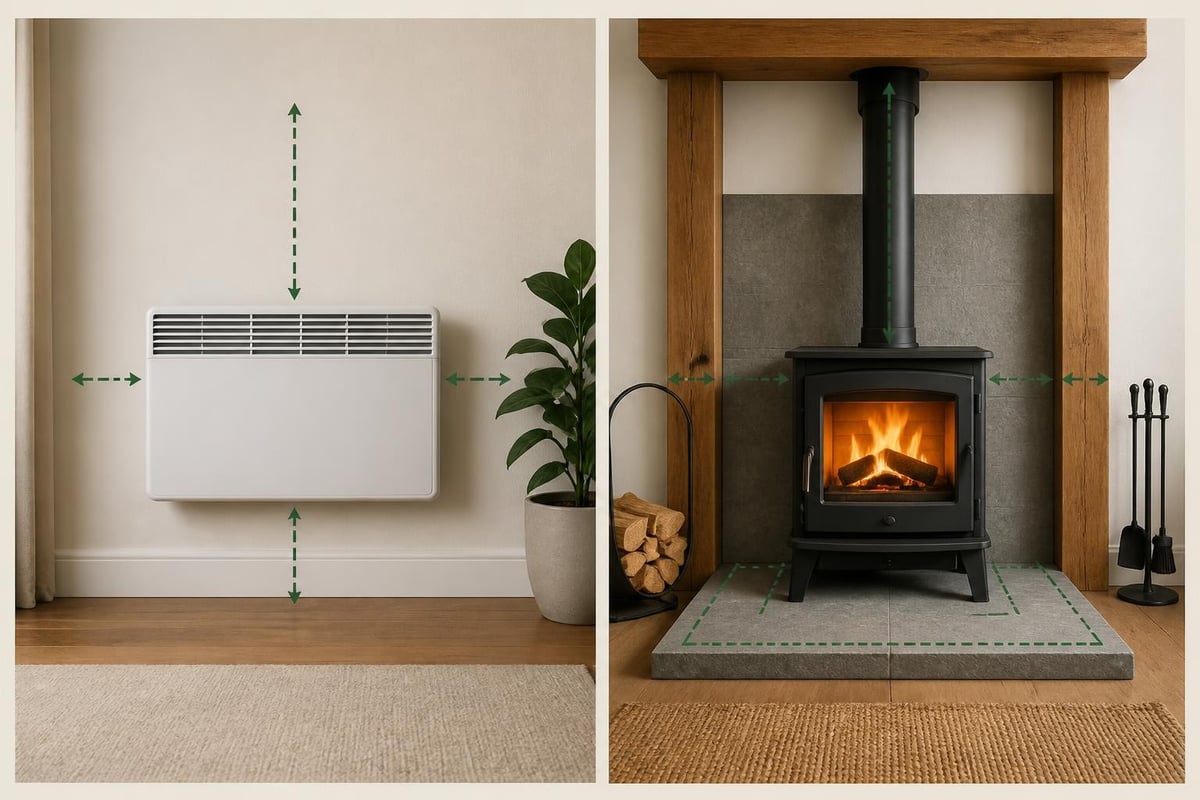
Before you frame, sketch your bench height (typically 45–50 cm for the lower tier, 85–95 cm for the upper), door swing, heater clearance, and ventilation path. Leave at least 15–20 cm between the heater and any combustible surface-more if your local code or heater manual requires it.
Building Codes, Permits, and Inspections
One of the most underestimated aspects of a diy outdoor sauna is navigating the regulatory side. Most municipalities treat a permanent outdoor sauna as an accessory structure, which means you need a building permit, electrical and plumbing inspections (if applicable), and compliance with local fire and energy codes.
Permit Requirements
Check with your building department before breaking ground. Typical permit triggers include:
- Foundation work: Poured slabs, footings, or pier installations.
- Electrical service: Running a dedicated circuit for an electric heater or lighting.
- Wood-burning heater and chimney: Special permits, hearth-pad specs, and chimney clearances per NFPA 211.
- Setback and zoning: Distance from property lines, easements, or wetlands.
Skipping permits risks fines, costly rework, and complications when you sell your home. The USFA plans-review manual outlines fire-safety checkpoints that inspectors commonly enforce.
Code Compliance: Framing, Insulation, and Vapor Barriers
Outdoor saunas face temperature swings, high interior humidity, and freeze-thaw cycles. Proper insulation, vapor barriers, and ventilation are not optional.
| Component | Requirement | Why It Matters |
|---|---|---|
| Wall insulation | R-13 to R-19 (mineral wool or fiberglass) | Maintains heat, reduces energy cost, supports year-round use |
| Ceiling insulation | R-30 or higher | Heat rises; insufficient ceiling insulation wastes energy and stresses heater |
| Vapor barrier | Foil-faced or reinforced polyethylene on warm side | Prevents moisture migration into wall cavity, stops rot and mold |
| Ventilation | Low inlet near floor, high outlet near ceiling | Provides fresh air, controls humidity, removes CO if wood-burning |
This step-by-step construction guide from This Old House details framing, insulation sequencing, and vapor-barrier placement for both indoor and outdoor saunas.
Electrical and Heater Installation
Electric sauna heaters typically require a dedicated 240 V circuit and a disconnect switch within sight of the sauna. Wire gauge, breaker size, and conduit type depend on heater wattage and distance from the panel. Hire a licensed electrician unless you hold the appropriate credentials-DIY electrical work on a permitted sauna often fails inspection.
Wood-burning heaters demand additional clearances, a code-compliant hearth pad, and a properly sized chimney with spark arrestor and rain cap. The NFPA 211 document and UMD Extension wood-energy guidance cover hearth construction, chimney height, and clearance specs.
Materials: Thermowood, Cedar, Pine, and Interior Finishes
Material choice shapes durability, maintenance, cost, and the character of your diy outdoor sauna.
Exterior Cladding and Structure
- Thermowood: Heat-treated softwood with enhanced dimensional stability, rot resistance, and low moisture uptake. Ideal for year-round outdoor use in freeze-thaw climates.
- Western red cedar: Naturally rot-resistant and aromatic, but more expensive and harder to source in consistent grades.
- Nordic pine or spruce: Lower-cost option; requires annual sealing or staining to prevent weathering and checking.
Thermowood costs more upfront but eliminates the need for chemical treatments and minimizes seasonal movement. If you're comparing options, see how square outdoor sauna models balance material choice with design.
Interior Wood and Benches
Sauna interiors should use softwoods with low resin content and comfortable surface temperature. Black alder, aspen, and Nordic pine are common. Avoid treated lumber, varnish, or paint inside the hot room-they release fumes and degrade under heat.
Bench boards should run horizontally with small gaps (3–5 mm) for drainage and expansion. Use stainless-steel or bronze fasteners; galvanized hardware corrodes in the humid, hot environment.
Heater Choice: Electric vs. Wood-Burning
Your heater determines installation complexity, operating cost, and the character of your sauna experience.
Electric Heaters
Electric heaters are clean, controllable, and easier to install. They heat quickly, require no wood storage or ash cleanup, and integrate with timers or smart controls. You'll need a dedicated 240 V circuit, proper clearances, and a heater sized to your room volume (typically 1 kW per cubic meter).
Electric heaters work well in urban or suburban settings where open flames or smoke are restricted. They're the default choice for compact saunas and locations without easy chimney routing.
Wood-Burning Heaters
Wood-burning heaters deliver the most traditional sauna experience-the crackle of birch, the scent of smoke, and a slower, more deliberate heat build. But they require:
- Hearth pad with proper R-value and non-combustible surface
- Insulated chimney with rain cap, spark arrestor, and adequate height above the roofline
- Combustion-air supply (often ducted from outside)
- Annual chimney inspection and cleaning
Wood heat costs less to operate if you have a reliable firewood source, but installation complexity, permitting, and ongoing maintenance are significantly higher. The Finnish Sauna Society offers cultural context on traditional wood-fired sauna operation and safety norms.
The DIY Build Process: What to Expect
If you proceed with a scratch-built diy outdoor sauna, here's a realistic timeline and task breakdown.
Step-by-Step Construction
- Site prep and foundation: Excavate, set forms or piers, pour concrete. Allow cure time (7–14 days for full strength).
- Floor framing and insulation: Build treated-wood floor frame, install joist insulation, lay tongue-and-groove decking.
- Wall framing: Assemble 2×4 or 2×6 stud walls, square and plumb, anchor to floor frame.
- Roof framing and sheathing: Build rafter or truss assembly, install sheathing, apply roofing membrane and shingles.
- Exterior cladding: Install siding, trim, and windows; seal joints and penetrations.
- Interior insulation and vapor barrier: Stuff wall and ceiling cavities, staple foil-faced barrier on warm side, tape seams.
- Interior paneling and benches: Install tongue-and-groove softwood boards horizontally, build bench frames, attach slat tops.
- Heater and electrical rough-in: Run conduit, pull wire, mount heater base and controls. Schedule electrical inspection.
- Ventilation, door, and hardware: Cut and install air vents, hang sauna door, add handles and latches.
- Final inspection and commissioning: Walk-through with inspector, test heater, adjust ventilation, season the sauna with low-heat cycles.
Expect 80–120 hours of work for a skilled DIYer on a 2–4 person sauna, longer if you're learning as you go or waiting on inspections.
Cost Reality: DIY vs. Prefabricated Kits
Many people start a diy outdoor sauna project expecting to save significant money. The reality is more nuanced.
DIY Build Costs
A scratch-built outdoor sauna typically costs:
- Foundation and sitework: $800–2,500 depending on soil, frost depth, and method
- Framing lumber and fasteners: $1,200–2,800 for walls, roof, floor
- Insulation and vapor barrier: $400–800
- Exterior siding and trim: $1,000–3,000 (Thermowood or cedar significantly higher)
- Interior paneling and benches: $800–1,800
- Heater and controls: $600–2,200 (electric) or $1,200–4,500 (wood-burning with chimney)
- Electrical service and inspection: $600–1,500
- Door, windows, hardware, ventilation: $500–1,200
- Permits, plans, engineering (if required): $300–1,000
Total: Roughly $6,200–$15,000 depending on size, materials, and heater choice. That's materials only; it does not include your labor, tool rental, or the cost of mistakes and rework.
Prefabricated Sauna Kits
Quality prefab kits supply pre-cut wall panels, roof sections, benches, door, windows, and hardware. You provide the foundation and heater. Installation typically takes one to two days with two people and basic tools.
Prefab kits cost more in materials but save dozens of hours, eliminate cutting errors, and include engineered details like tongue-and-groove joints, integrated vapor barriers, and factory-finished surfaces. For buyers who value time, guaranteed fit, and a proven design, the premium is often worth it.
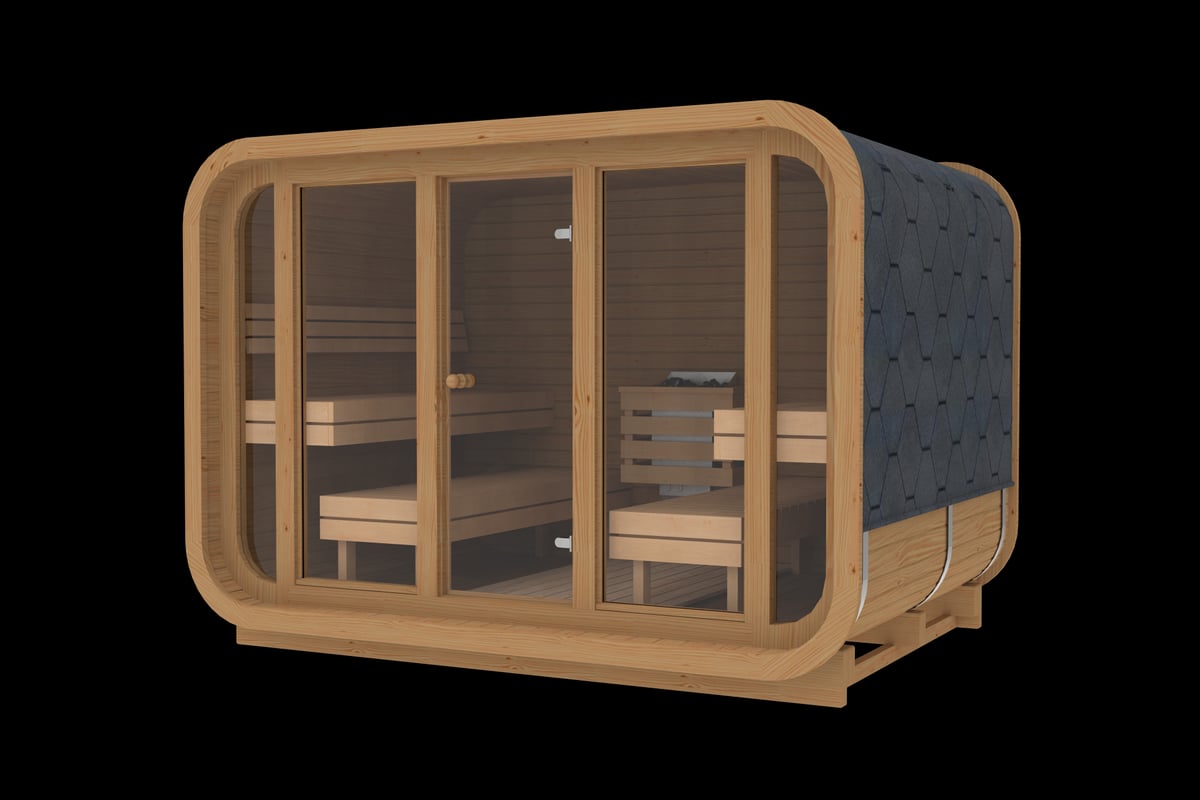
The RecoSauna Sisu Square Sauna 3.0 × 2.3 m – Thermowood, for instance, arrives as a complete kit with 46 mm solid Thermowood walls, four tinted windows, and a choice of bench layout-ready to assemble on your foundation with no custom framing or panel-cutting required.
| Approach | Material Cost | Labor | Total Time | Pros | Cons |
|---|---|---|---|---|---|
| Scratch-built DIY | $6,200–15,000 | 80–120 hrs | 4–8 weeks | Full customization, learning experience | Permit complexity, risk of errors, longer timeline |
| Prefab kit | $8,000–18,000 | 16–24 hrs | 1–2 weeks | Faster, guaranteed fit, factory quality | Less flexibility, higher material cost, still need foundation |
Common Pitfalls and How to Avoid Them
Even experienced builders encounter challenges with diy outdoor sauna projects. Here are the most common mistakes and how to sidestep them.
Undersizing the Heater
A heater that's too small for your room volume will struggle to reach target temperature, especially in winter. Use the manufacturer's sizing chart and round up if your sauna is poorly insulated or you plan to use it year-round in cold climates.
Skipping the Vapor Barrier
Without a continuous vapor barrier on the warm side of the insulation, moisture migrates into wall cavities, condenses, and causes mold and rot. Foil-faced insulation or reinforced poly sheeting, carefully taped at seams, is essential.
Ignoring Ventilation
Proper airflow prevents stuffiness, controls humidity, and ensures safe operation of wood-burning heaters. Plan for a low inlet (near the heater or door threshold) and a high outlet (opposite wall, near the ceiling). Adjustable vents give you control over air exchange.
Poor Door and Window Sealing
Gaps around the door or windows waste heat and let in drafts. Use weatherstripping rated for high temperatures, and ensure the door threshold has a raised sill to contain water from löyly (steam) throws.
Underestimating the Inspection Process
Inspectors check framing, insulation, electrical work, heater clearances, and ventilation. Schedule inspections early, ask questions, and don't cover up work until it's been approved. Rework after the fact is expensive and frustrating.
When a Prefab Kit Makes More Sense
If you're weighing a diy outdoor sauna build against a prefab option, consider your answers to these questions:
- Do you have 80+ hours over the next two months? Scratch-building demands sustained effort and problem-solving.
- Are you confident navigating permits, code books, and inspections? Regulatory compliance is often the hardest part.
- Do you have a full set of carpentry tools, including a table saw, miter saw, and laser level? Tool rental adds cost and complexity.
- Will you be satisfied with a learning-curve finish, or do you want factory precision? Prefab kits deliver consistent quality and tight tolerances.
For many homeowners, a well-engineered kit offers the best balance: authentic materials, Scandinavian design, faster installation, and the confidence that wall joints, insulation, and vapor barriers meet proven standards. You still handle the foundation, heater hookup, and finishing touches, but you avoid the trial-and-error of framing, panel-cutting, and custom joinery. Designing your ideal sauna space becomes simpler when you start with a proven layout and verified dimensions.
Winter Performance and Climate Considerations
North American climates range from Pacific Northwest rain to Alberta deep-freeze to Southwestern desert heat. Your diy outdoor sauna needs to handle the conditions where you live.
Cold-Climate Strategies
- Increase ceiling insulation: R-30 or higher keeps heat from escaping through the roof.
- Seal all penetrations: Electrical conduit, vent pipes, and window frames are common cold-air leaks.
- Use Thermowood or treated exterior: Freeze-thaw cycles crack untreated pine and cause fastener pop.
- Size heater generously: Add 20–30% capacity if you'll regularly sauna below freezing.
Winter operation is where prefab Thermowood kits shine. Thermowood's low moisture content and dimensional stability prevent the seasonal movement and cracking that plague scratch-built saunas in harsh climates.
Hot, Humid, and Coastal Environments
In warm climates, focus on ventilation, shade, and rot-resistant materials. Ensure your low and high vents create cross-flow, and consider a small exhaust fan to speed moisture removal between sessions. Thermowood, cedar, or marine-grade fasteners resist salt air and high humidity better than standard pine or galvanized hardware.
Health, Safety, and Sauna Culture
Sauna bathing offers well-documented cardiovascular and relaxation benefits when practiced safely. A systematic review on heat therapy highlights positive effects on blood pressure and vascular function, reinforcing the value of a properly built, safely operated sauna.
Safe Operation Practices
- Start with moderate heat: 70–80°C (160–175°F) is comfortable for most bathers; experienced users may go higher.
- Hydrate before and after: Replace fluids lost through sweating.
- Limit session length: 10–20 minutes per round is typical; listen to your body.
- Never sauna alone if you have health concerns: Consult your physician if you have cardiovascular conditions.
- Keep heater guards in place: Prevent accidental contact with hot stones or elements.
The Finnish Sauna Society provides cultural context on sauna customs, löyly practice, and traditional etiquette that enhance both safety and enjoyment. While it's easy to get caught up in debates about how hot a sauna should be, the real measure of a good sauna is consistency, good ventilation, and a heat that feels clean and comfortable.
Adding a Changing Room or Covered Terrace
Many diy outdoor sauna builders add a small changing room or covered terrace to improve comfort and extend the season. A 1 m changing room provides space to undress, store towels, and transition between indoor warmth and outdoor cold plunge or shower.
- Changing room: Adds privacy, keeps snow and rain out, and gives you a place to sit and cool down between rounds.
- Covered terrace: Shelters the sauna entrance, provides a dry spot for firewood (if wood-burning), and creates an outdoor lounge area.
Both features increase material cost and build time but significantly improve the overall experience. If you're starting from scratch, plan the changing room into your foundation and framing from the beginning-retrofitting later is awkward and expensive.
Tools, Skills, and Realistic Timelines
Building a diy outdoor sauna from scratch is a rewarding project, but it demands carpentry skills, patience, and the right tools.
Essential Tools
- Circular saw, miter saw, or table saw
- Cordless drill/driver and impact driver
- Laser or bubble level
- Framing square and speed square
- Chalk line and tape measure
- Insulation knife or long-blade utility knife
- Caulk gun, staple gun, and fastener nailers (optional but helpful)
Skills You'll Use
- Reading plans and laying out square corners
- Cutting rafters, studs, and trim accurately
- Installing insulation and vapor barriers without gaps
- Running electrical conduit and making code-compliant connections (or hiring an electrician)
- Hanging a door plumb and square
- Applying exterior siding with proper flashing and drainage
If you've framed a shed, built a deck, or remodeled a room, you likely have the baseline skills. If this is your first major carpentry project, expect a steep learning curve and budget extra time for mistakes.
A diy outdoor sauna is an ambitious project that rewards careful planning, code compliance, and realistic expectations. Whether you choose to build from scratch or opt for a quality prefab kit depends on your skills, timeline, and how much you value precision and proven performance. At RecoSauna, we help homeowners across North America choose the right outdoor sauna for their climate, space, and wellness goals-delivering authentic Finnish design, Thermowood durability, and the guidance you need to make a confident decision.
Share:
Wood Burning Outdoor Sauna: Choosing the Right Heater Setup
Outdoor Sauna Cost in 2026: What to Budget & Expect