
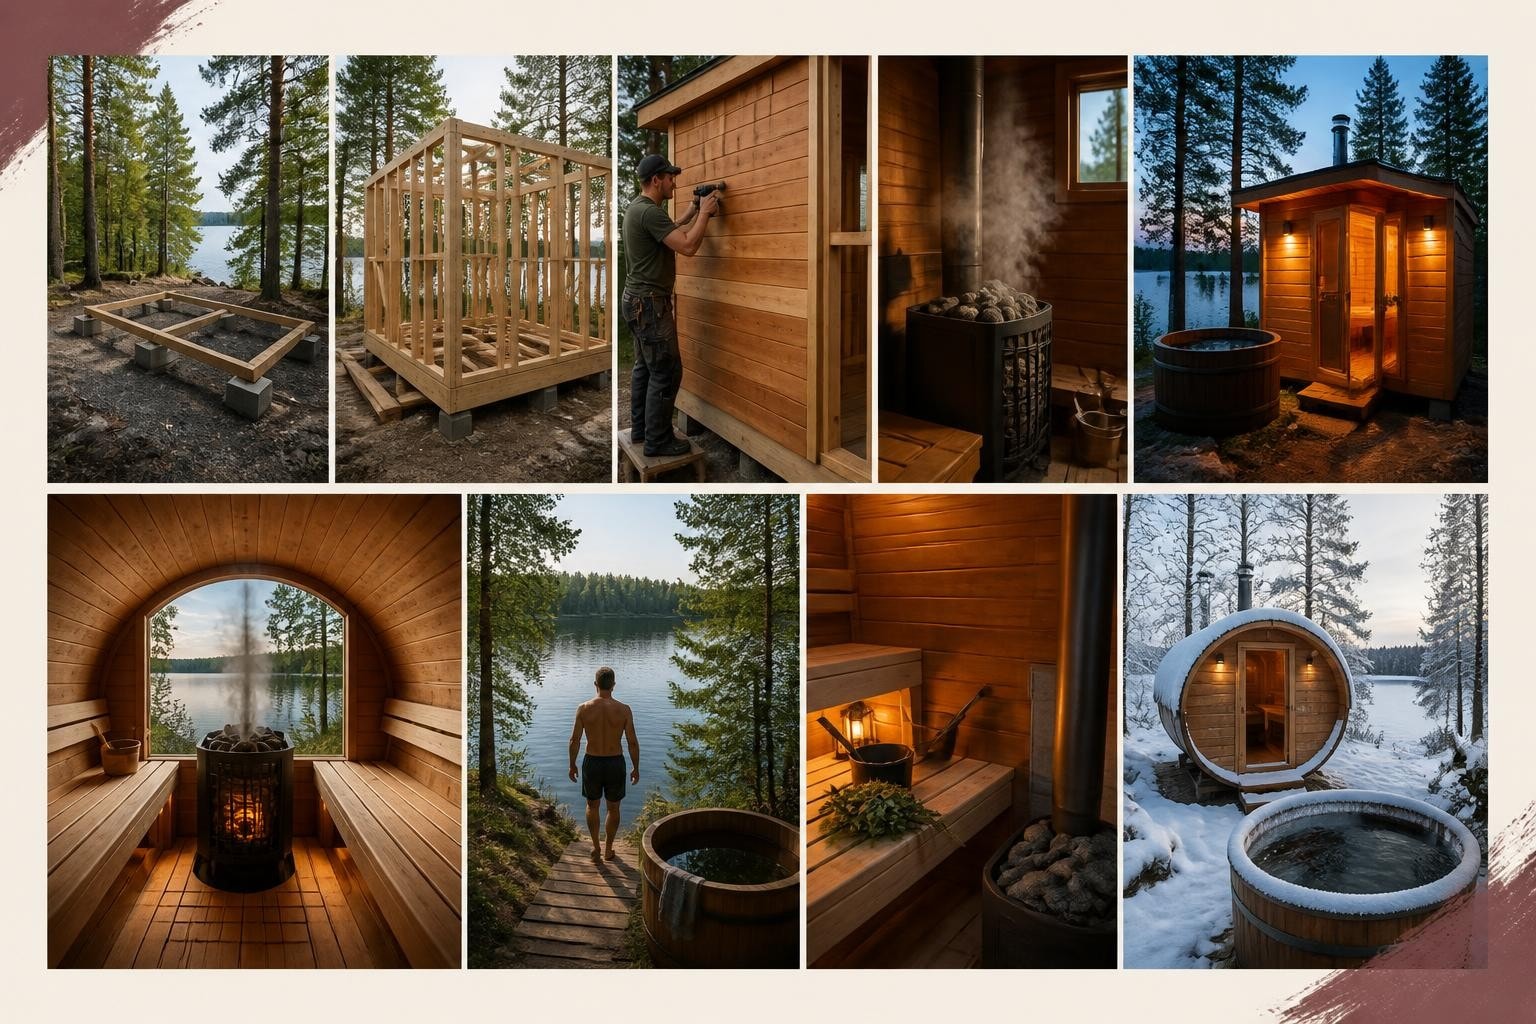
Building your own sauna connects you to something older than modern wellness trends. I grew up on Lake Saimaa in Eastern Finland, where sauna has been part of daily life for over 2,000 years. A diy sauna project is not just about cutting wood and installing a heater. It is about creating a space for löyly, the steam that rises when you pour water on hot stones, the moment your body shifts from performance to recovery. UNESCO recognized Finnish sauna culture as Intangible Cultural Heritage in 2020 because it represents a living tradition of health, community, and renewal. When you build your own sauna, you are building a tool for contrast therapy, the heat-then-cold cycle that Finns practiced long before anyone called it that.
Why Build a DIY Sauna Instead of Buying One
Most people consider a diy sauna because they want control over size, materials, and cost. You can design the space to fit your backyard, your family, or your recovery routine. You choose the wood, the heater, the bench height.
The benefits of building yourself:
- Cost savings: A diy sauna can cost $2,000-$6,000 in materials, depending on size and finish quality
- Customization: You decide on ceiling height, bench layout, window placement
- Learning: You understand how every part works, which helps with maintenance
- Pride: You built the space where you practice löyly
The trade-off is time. A weekend project can stretch into weeks if you underestimate foundation work, electrical requirements, or vapor barrier installation. A custom DIY sauna build demands precision in insulation and ventilation, not just carpentry.
Some people realize halfway through that a prefabricated kit would have been faster. A barrel sauna or cabin sauna arrives ready to assemble in a day or two. But if you enjoy building and want to understand every detail, a diy sauna is deeply satisfying.
Choosing the Right Location and Foundation
Your sauna location determines what kind of foundation you need and how you will run electrical lines. In Finland, we often place saunas near a lake or on a slope where cold water is close. That proximity matters for contrast therapy.
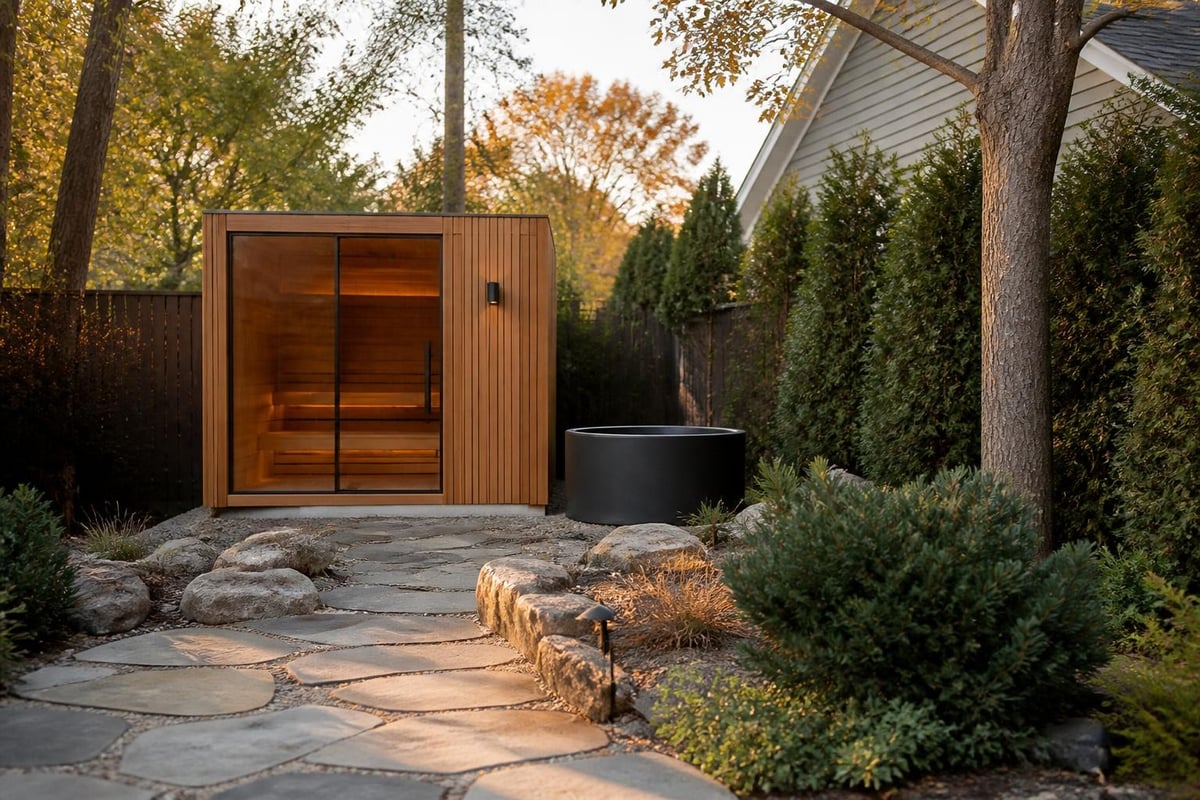
Outdoor vs Indoor DIY Sauna
Outdoor saunas offer space and flexibility. You can build larger, add a porch, and step directly into cold air or water. You need a solid foundation: concrete slab, gravel pad, or treated wood deck. Outdoor sauna builds often require permits in North America, so check local codes before you pour concrete.
Indoor saunas fit into basements, garages, or spare rooms. They require careful vapor barrier work to protect surrounding walls from moisture. Ventilation is critical. You cannot just seal a hot box inside your house and expect it to work safely.
| Location Type | Foundation | Electrical | Ventilation | Permits |
|---|---|---|---|---|
| Outdoor | Concrete slab, gravel pad, deck | 220V outdoor-rated line | Natural airflow, vent gap | Usually required |
| Indoor | Existing floor, moisture barrier | 220V dedicated circuit | Intake low, exhaust high, gap under door | Depends on local code |
I have seen people skip the foundation step and regret it. Wood rots when it sits on damp ground. A proper base adds cost but protects your investment.
Selecting Materials for Heat and Moisture
Cedar is the standard wood for a diy sauna because it resists moisture, smells good, and insulates well. In Finland, we use Nordic spruce or aspen, but those are harder to source in North America. Eastern White Cedar or Western Red Cedar work beautifully.
What you need:
- Wall framing: 2x4 studs, treated lumber for base plate
- Insulation: Foil-faced or fiberglass, R-13 minimum for walls, R-19 for ceiling
- Interior paneling: Tongue-and-groove cedar boards, 1x4 or 1x6
- Vapor barrier: Foil vapor barrier on warm side of insulation
- Benches: Cedar 2x4s or 2x6s, spaced for airflow
- Door: Cedar or tempered glass, must open outward for safety
Do not use treated wood inside the hot room. Chemicals leach at high temperatures. Do not use metal fasteners where skin touches. Use stainless steel or hidden fasteners. This sauna build guide walks through framing and vapor barrier placement in detail.
Your material quality affects how the sauna feels and how long it lasts. Thin paneling looks cheap and does not hold heat as well. Skipping the vapor barrier invites mold.
Heating Options: Electric vs Wood-Fired
The heater is the heart of your diy sauna. It creates the heat that makes löyly possible. You have two main choices.
Electric Sauna Heaters
Electric heaters are easier to install and legal in most residential areas. You need a dedicated 220V circuit, installed by a licensed electrician. The heater sits in a corner, holds sauna stones on top, and heats the room to 70-90°C (160-195°F).
Advantages:
- Simple controls, fast heat-up
- No smoke, no chimney, no wood storage
- Consistent temperature
- Easier permits in suburban areas
Disadvantages:
- Higher monthly electricity cost
- Less traditional feel
- Requires professional electrical work
An electric sauna offers convenience without sacrificing the essential element: löyly. You still pour water on hot stones and feel the steam rise.
Wood-Fired Sauna Stoves
Wood-fired stoves are what I grew up with. The fire crackles, the smoke rises through a chimney, and the heat radiates from a large stone mass. This is slower, more hands-on, and deeply satisfying.
Advantages:
- No electricity needed
- Traditional Finnish experience
- Lower operating cost
- Higher heat capacity with large stone mass
Disadvantages:
- Requires chimney installation and clearances
- Needs regular wood supply
- Takes longer to heat
- Harder to get permits in urban areas
If you are building in a rural area or have access to firewood, a wood-fired stove connects you to the oldest version of sauna. If you want daily use without the effort, electric is practical.
Building the Sauna Room Step-by-Step
A diy sauna is not complicated construction, but every step matters. Shortcuts in insulation or ventilation create problems later.
Foundation and Framing
- Prepare the foundation: Pour a concrete slab, build a deck, or prepare an indoor floor with moisture barrier
- Frame the walls: Use 2x4 studs on 16-inch centers, treated base plate if outdoor
- Frame the ceiling: 2x6 joists for added insulation space
- Install the door frame: Must be sturdy, door swings out, no lock
Insulation and Vapor Barrier
- Insulate walls: R-13 fiberglass or mineral wool between studs
- Insulate ceiling: R-19 or higher, heat rises and escapes through the ceiling
- Install vapor barrier: Foil-faced barrier on the warm side, tape all seams tightly
- Ventilation gaps: Leave a gap under the door, install upper vent near ceiling
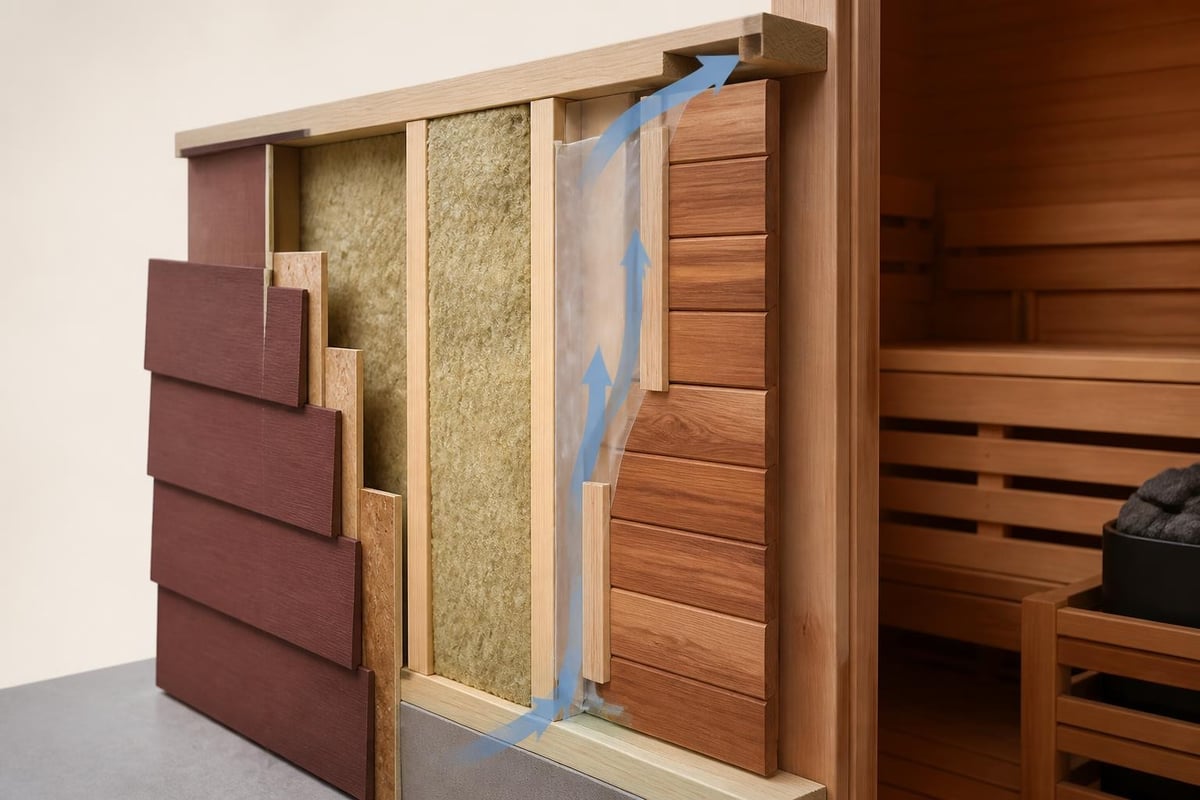
The vapor barrier prevents moisture from condensing inside the wall cavity. If you skip this, you will have mold within a year. This step-by-step DIY sauna guide explains vapor barrier placement in detail.
Interior Paneling and Benches
- Install cedar paneling: Start at the bottom, tongue-and-groove boards, leave small gaps for expansion
- Build benches: Two-tier layout is traditional, lower bench for children or cooling, upper bench for maximum heat
- Install heater: Follow manufacturer clearances, usually 4-6 inches from walls
- Fill heater with stones: Use proper sauna stones, 20-50 kg depending on heater size
Your bench height determines where you sit in the heat gradient. In a Finnish sauna, the upper bench is where you feel the full intensity of löyly.
Electrical Work and Safety Considerations
Do not attempt electrical work unless you are licensed. A 220V circuit for a sauna heater is not a DIY electrical project for most people. Hire a professional.
Safety requirements:
- Dedicated 220V circuit with proper amperage for your heater size
- GFCI protection if required by local code
- Proper wire gauge (usually 10 AWG or 8 AWG)
- Outdoor-rated conduit if running outdoors
Beyond electrical, sauna safety includes proper ventilation, no locks on doors, and accessible emergency exit. Read this comprehensive sauna safety guide before you build. It covers contraindications, risks, and best practices.
Cost Breakdown for a DIY Sauna
Your total cost depends on size, materials, and whether you hire help for electrical or foundation work. Here is a realistic breakdown for a 6x8 foot outdoor sauna:
| Item | Estimated Cost |
|---|---|
| Foundation (gravel pad or concrete) | $300-$800 |
| Framing lumber (2x4s, 2x6s) | $400-$600 |
| Insulation and vapor barrier | $200-$400 |
| Cedar paneling (interior walls and ceiling) | $800-$1,500 |
| Bench lumber (cedar 2x4s/2x6s) | $200-$400 |
| Door (cedar or glass) | $300-$600 |
| Electric heater (6-8 kW) | $500-$1,200 |
| Sauna stones | $50-$150 |
| Electrical work (licensed electrician) | $500-$1,500 |
| Lighting, accessories, hardware | $200-$400 |
| Total | $3,450-$7,550 |
A wood-fired stove costs more upfront ($1,500-$3,000) but saves on electrical installation. A smaller indoor diy sauna might cost $2,000-$4,000 if you already have a suitable room.
Compare this to a prefabricated outdoor sauna, which ranges from $5,585 to $9,550 depending on size and features. You save money with DIY, but you invest significant time and skill.
Integrating Contrast Therapy into Your DIY Sauna
Löyly is only half of the recovery cycle. In Finland, we follow heat with cold. That shift from hot to cold is what activates circulation, reduces inflammation, and brings clarity.
When you plan your diy sauna, plan for cold water access. This could be:
- A garden hose and bucket
- A nearby lake, pond, or stream
- A dedicated cold plunge tub
If you are building a backyard sauna, consider placing a cold plunge nearby. The LeisureCraft Baltic Plunge Tub is crafted from Eastern White Cedar with an HDPE interior liner, holds 132 gallons, and fits naturally beside an outdoor sauna. You can use it with ice or pair it with an electric chiller for consistent cold exposure year-round.
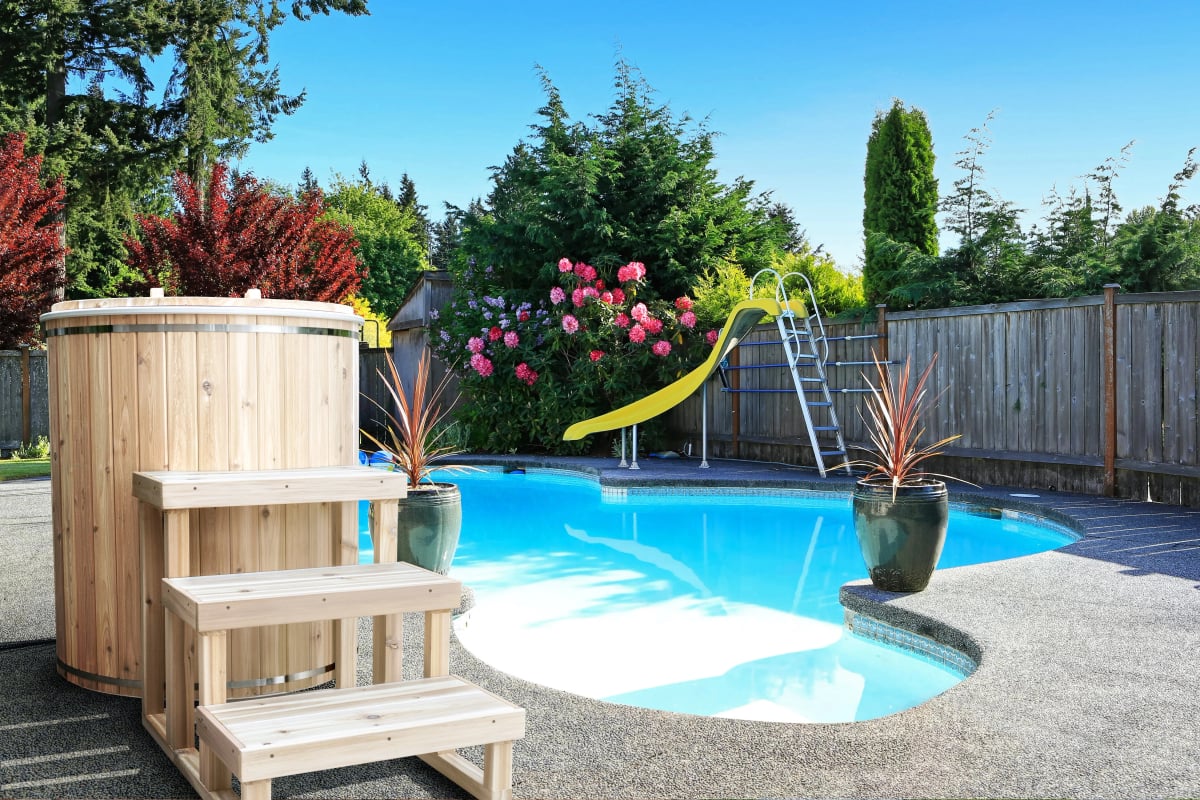
Contrast therapy is not a trend. It is how Finns have recovered for generations. Professor Jari Laukkanen at the University of Eastern Finland, whose research has been published in Mayo Clinic Proceedings and covered by BBC, TIME, and The New York Times, found that sauna use 4-7 times per week cuts cardiovascular death risk by 51%. That benefit comes from the heat-cold cycle, not just sitting in warmth.
When a Prefabricated Sauna Makes More Sense
A diy sauna is rewarding if you have the time, tools, and confidence to handle framing, insulation, and electrical planning. But not everyone wants to spend weekends on construction.
Consider a prefabricated sauna if:
- You want to use it within days, not months
- You lack carpentry or electrical experience
- You prefer a warranty and professional assembly support
- You value consistent quality control in materials and design
A cabin or box sauna arrives as a kit, assembles in a day or two, and includes everything you need. You still build it yourself, but the precision cutting and material selection are done for you.
For some people, building from scratch is part of the joy. For others, it is an unnecessary risk. Both approaches give you access to löyly and contrast therapy. Choose based on your skills and timeline.
Common Mistakes in DIY Sauna Projects
I have seen many sauna builds over the years. The mistakes are predictable.
Mistakes to avoid:
- Skipping the vapor barrier: Moisture will damage insulation and framing
- Undersizing the heater: A 4 kW heater cannot heat a 10x10 room properly
- Poor ventilation: You need fresh air intake and exhaust, or the room feels suffocating
- Using treated wood inside: Chemicals off-gas at high heat
- Installing the door to swing inward: Dangerous if someone collapses against it
- Placing benches too low: You miss the heat gradient that makes sauna effective
This field guide to DIY saunas includes a cost breakdown and pro tips that help you avoid common pitfalls.
Take your time. Measure twice. Ask questions. A poorly built sauna is uncomfortable and potentially unsafe.
Permits, Codes, and Insurance Considerations
Most municipalities in the United States and Canada require permits for outdoor structures with electrical service. Some classify saunas as accessory buildings and have setback requirements from property lines.
What to check:
- Building permits for structures over a certain size (often 100-120 square feet)
- Electrical permits for 220V circuits
- Setback requirements from property lines and other structures
- Fire codes for wood-fired stoves and chimney clearances
- Homeowner's insurance coverage for added structures
Skipping permits can create problems when you sell your home. Some buyers will not close if unpermitted structures exist. Some insurance companies will not cover damage from unpermitted electrical work.
Call your local building department before you start. The permit process adds time and cost, but it protects your investment.
Maintenance and Long-Term Care
A well-built diy sauna requires minimal maintenance, but you cannot ignore it entirely.
Regular tasks:
- Wipe benches after use: Prevents sweat buildup and staining
- Clean the floor: Sweep or vacuum, mop occasionally
- Check stones annually: Replace cracked or crumbling stones
- Inspect vapor barrier and insulation: Look for moisture damage
- Re-seal exterior wood: Every 2-3 years if outdoor
Cedar naturally resists rot, but it still needs care. If you built outdoors, expect to re-stain or seal the exterior every few years depending on climate.
Inside, the heat keeps the wood dry and prevents mold. Good ventilation after each session helps moisture escape.
Adding Sauna to Your Daily Recovery Routine
Once your diy sauna is finished, you have a tool for daily recovery. Start with 10-15 minute sessions, pour water on the stones to create löyly, let the steam rise. Step out, cool down with cold water or air, rest. Repeat two or three rounds.
This is not about extremes. It is about rhythm. Heat opens circulation, cold closes it, and your body adapts. You sleep better, recover faster, and feel clearer.
In Finland, we practice this without thinking about it. It is not a protocol or a hack. It is just what you do after work, after exercise, or before bed. Your diy sauna becomes part of your routine the same way.
If you pair your sauna with a cold plunge, you create a complete contrast therapy setup at home. The investment pays back in how you feel, not in resale value or aesthetics.
Building a diy sauna connects you to a 2,000-year-old practice and gives you control over your recovery space. If you would rather start with a proven design and professional support, RecoSauna offers cedar saunas, infrared options, and cold plunge tubs built for lasting daily use. Petri answers every question personally, and your purchase may qualify for HSA/FSA reimbursement with a Letter of Medical Necessity.
Share:
Best At Home Sauna: Finnish Expert's 2026 Guide
Portable Infrared Sauna: Complete 2026 Buying Guide